6 Simple steps for Paver Patios Repair
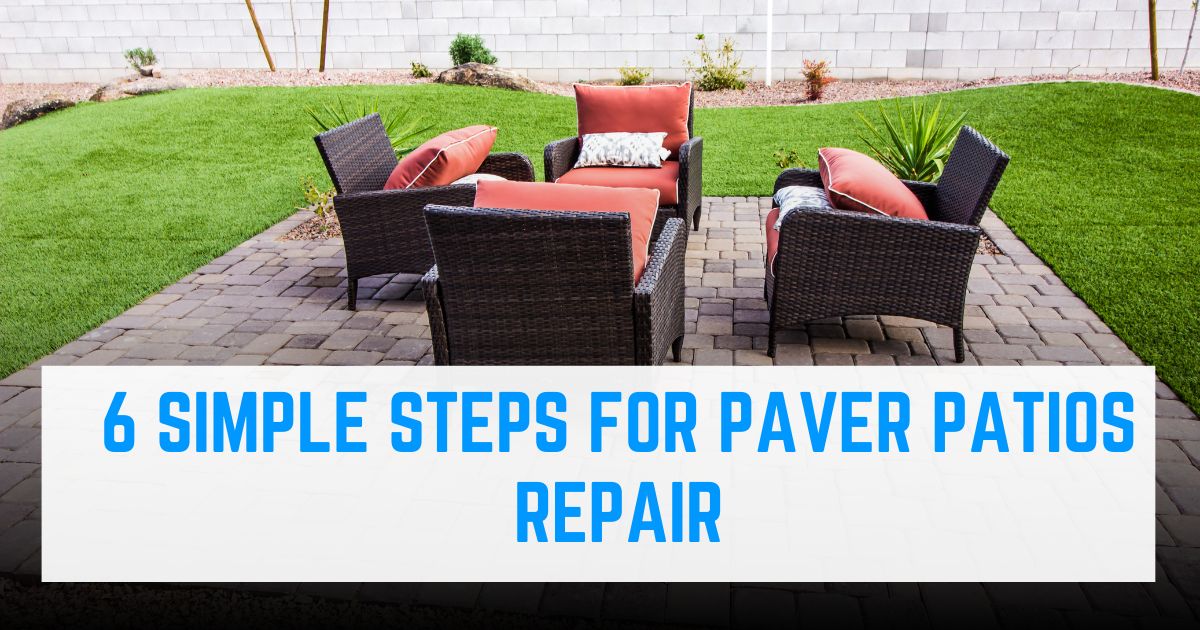
Paving bricks are beautiful and eye-catching stuff for outdoor landscapes and environments. The most important thing about choosing paving bricks for your outdoors is that they are resistant to the changing environments/seasons, durable, affordable and last for years. Pavers are a great way to create an outdoor living space. They provide a stable and attractive surface that is perfect for entertaining or simply relaxing.
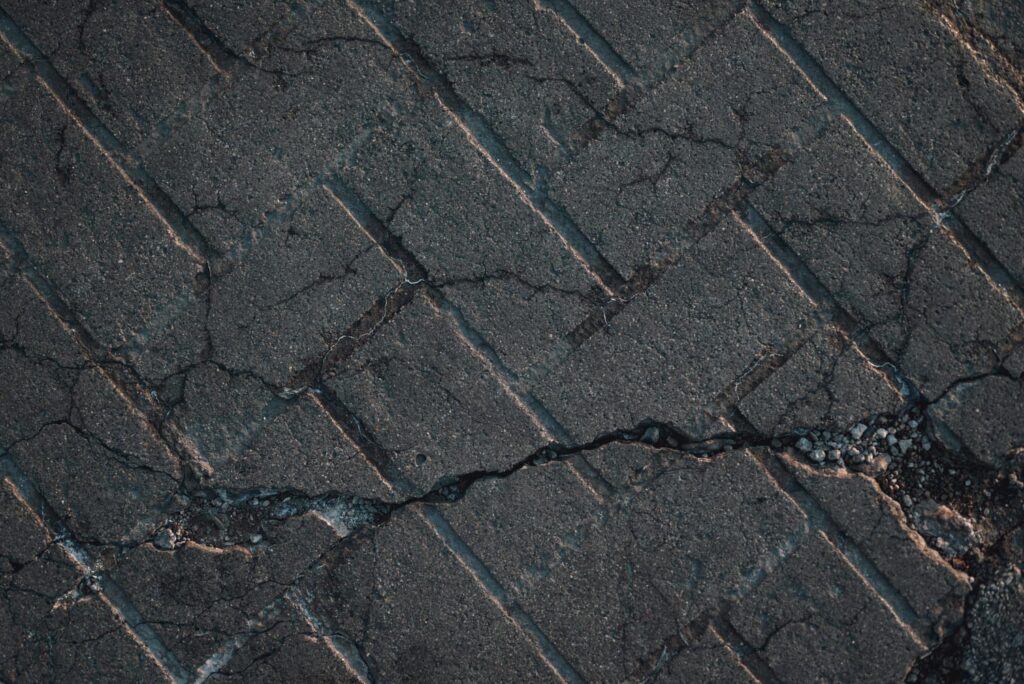
However, not all pavers are created equally, and some may need repair sooner than others; the only problem with them is that they move, sink and heave as the ground moves and become dirty with time. That is the problem that most people face. The underlying problem with paver patios is that they can crack or break over time due to uneven settling or heavy traffic. Following some simple steps can repair the issues by removing the pavers, cleaning the base layer, adding crushed stone dust and replacing the pavers. Just keep in mind that it’s less expensive to repair pavers than to completely replace them.
You don’t have to worry about it because it can be fixed easily with 6 steps and its repair is exceptionally inexpensive.
Consider the base problem before repair:
Before going into the repair steps, looking at the base is imperative. You can be in a severe problem if you observe many movements in the pavers and there are ample spots that have settled or heaved. If you do not consider the root of the problem, any repairs you do will result in another failure, and you may spoil your time and money.
Step 1:
As discussed above, most of the time, there is an underlying factor resulting in shifting pavers. The cause of soil erosion under the pavers can be linked to the poor drainage system. The rainwater tends to run down the steps like a waterfall, or it can slowly seep through the ground under the steps and cause the movement of pavers. So the 1st step should be removing the permanent cause of the problem. It would help if you tried to change the path of the drainage system, keeping it away from the pavers.
Step 2:
Remove the pavers from the patio; if you are repairing a large area, you may want to break up the job into smaller segments. If there is the mortar in between the pavers, it will be necessary to pry out all of the old mortar. Use a chisel and hammer for this job. Be sure not to damage or chip any of your new pavers when doing this step.
Clean out the old mortar with a wire brush and sweep up any debris on top of your patio. You may also want to use a vacuum cleaner for this step if you have one available. Apply new mortar evenly with a trowel or spreader between each set of pavers and then place them back on top of it.
Step 3:
If you have a paver patio that is cracked, uneven, or plain dirty, there are some simple steps to take to get it back in shape.
– Remove any debris from the surface of the patio.
– Brush off any loose dirt and dust from the surface of the pavers with a stiff brush.
– Sweep away any remaining dirt and dust with a broom.
– Soak up any standing water on the surface of your paver patio with a towel or sponge.
Step 4:
Add a layer of crushed stone dust over the top of the pavers.
Brush the dust with a broom to smooth it out evenly.
Apply an even layer of mortar over the top and spread it with your trowel.
You will need to wait for at least an hour before walking on the patio, or you risk damaging it again.
Step 5:
If you have a paver patio, you may need to replace some of the pavers. You can do this by removing any loose pavers and then replacing them with new ones.
First, remove any loose pavers. You can do it by using a crowbar or a screwdriver to loosen the mortar between the two bricks. You will want to do this on all of the bricks that are loose so that they can be removed easily.
Now make sure that you have enough new pavers for your project. If you don’t, you will need to purchase more before proceeding with your project. You should also ensure that you have enough mortar so that all new bricks are securely in place from now on.
Step 6:
In the end, sweep in polymeric sand. It will fill in any gaps and help prevent weeds from growing through the cracks.
You must sweep sand into all of the cracks and crevices of your patio before applying it with a broom or brush. It will ensure that all the gaps get filled with sand and that no large clumps are left behind.
Congratulations! You have done the repairing successfully! Hopefully, your new and freshly repaired paver patios will remain vital for another few years. You have saved a lot of money you would spend on replacing pavers.